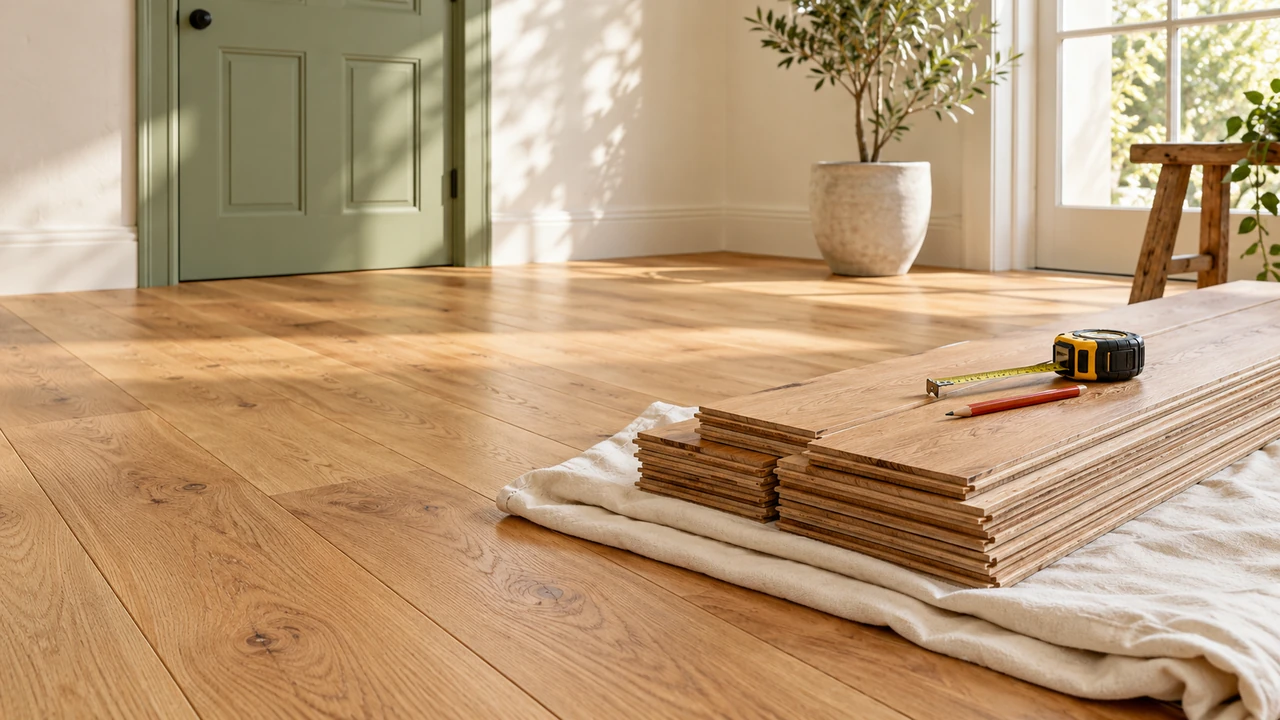
Plan boxes, cuts and preparation before the first plank comes out of its pack.
Turn the room into a simple plan
Measure the main rectangle and add alcoves or adjoining spaces separately. Mark doorways, fixed features and the direction you want the planks to run.
Use the coverage printed on the exact box. Similar-looking boards can have different pack sizes.
Allow for your layout
A straightforward rectangular layout often starts with an allowance around 10 percent. Angled cuts, several small rooms and patterned layouts can use more.
Talk through the plan with your installer before ordering a large quantity. It is easier to change an allowance than to match a discontinued batch.
Read the product’s preparation instructions
Acclimation, storage conditions and subfloor requirements vary by product. Use the current instructions supplied with your flooring, rather than applying one rule to every laminate, timber or vinyl board.
Check what underlay or moisture-control layer is required, and whether the chosen product already has a backing that changes that requirement.
Order the edges as well as the floor
Add the appropriate trims, transitions and finishing pieces to the same list. Check door clearances and how the final row will look before the layout is committed.
Keep a few labelled spare planks for later repairs. Record the product and batch details somewhere you can find them after the packaging is gone.
Put your measurements into the calculator →